We love to whip up these easy peasy cake pops from scratch with their red velvet cake flavor! These little bite-sized treats are such fun, and they're perfect for any occasion!
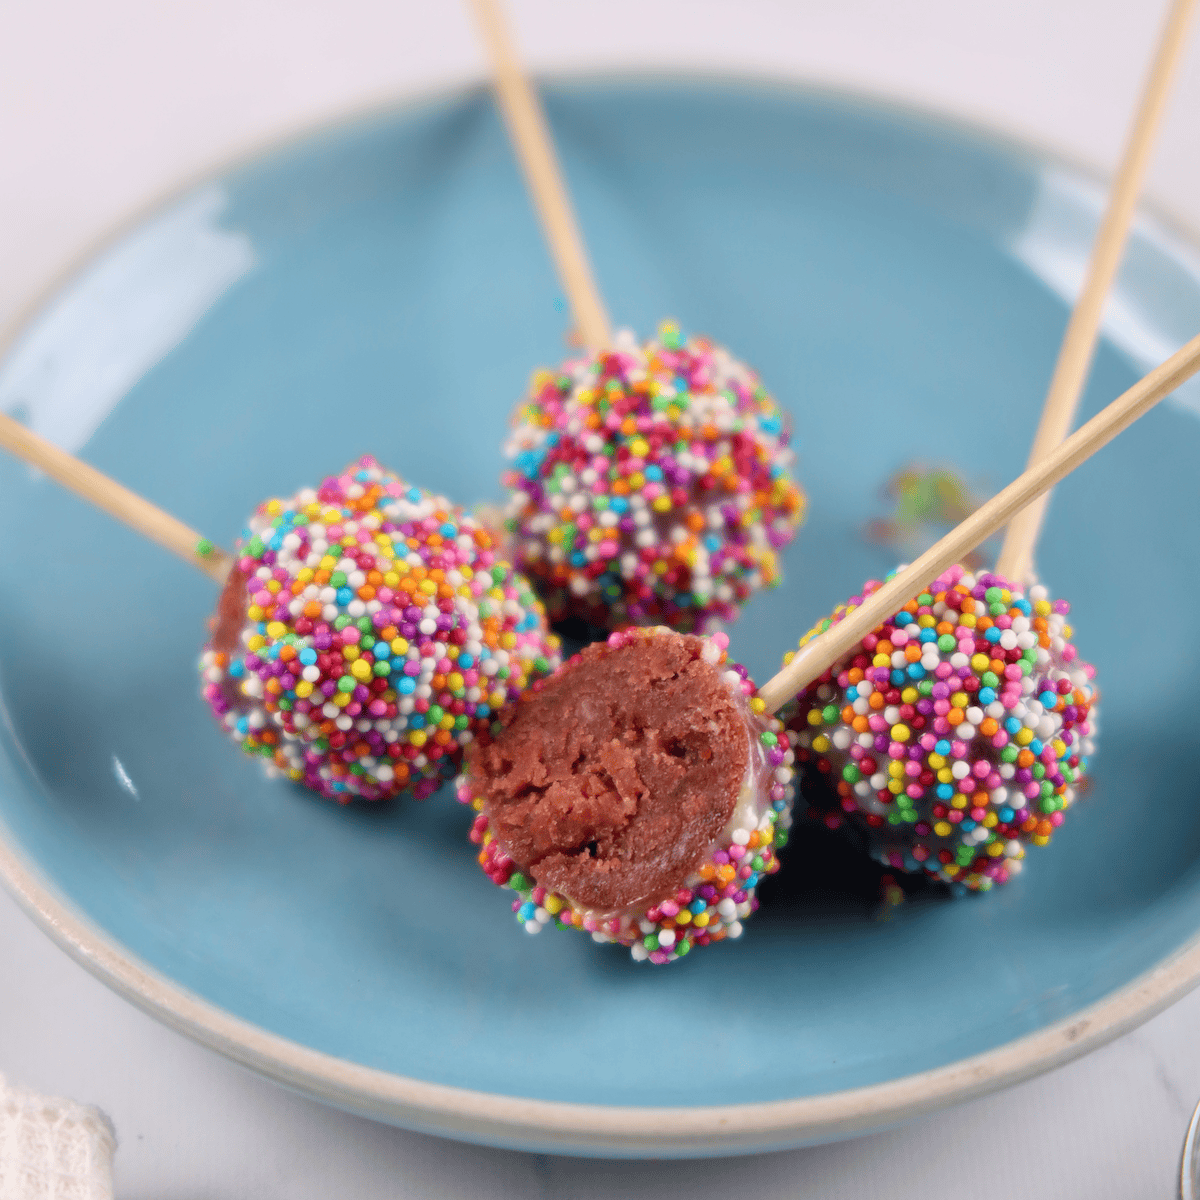
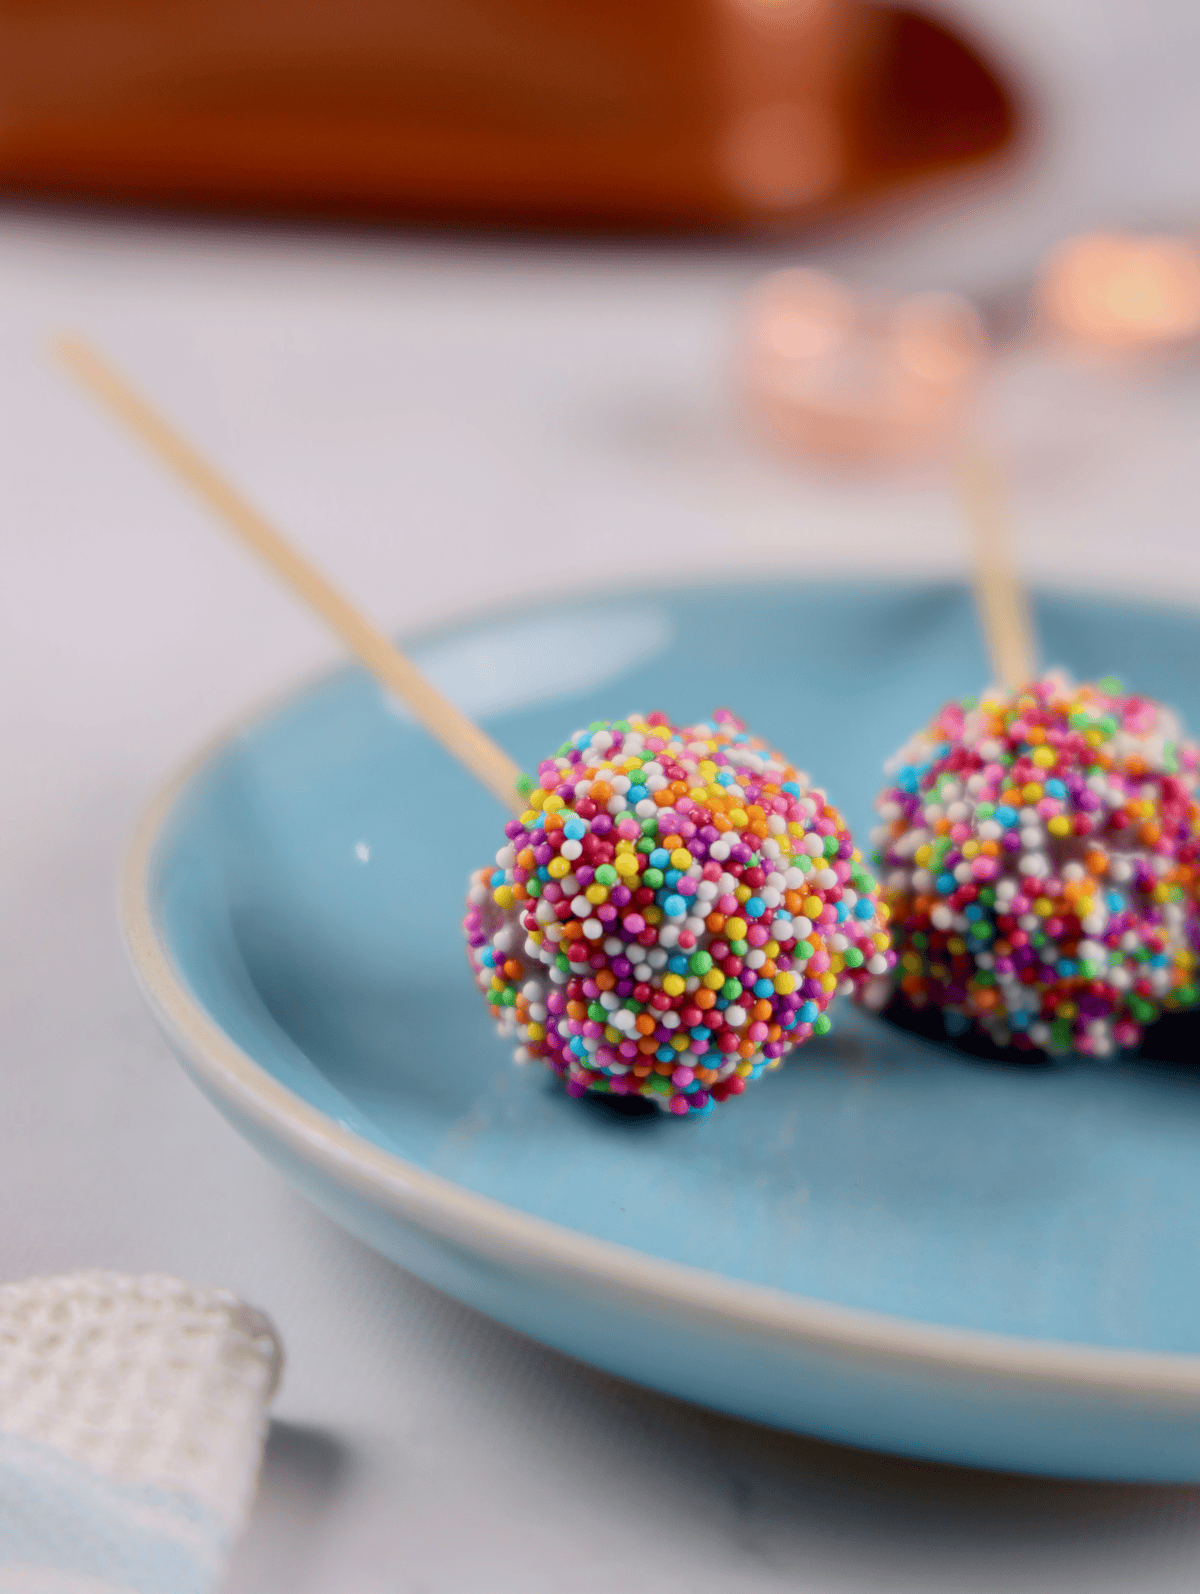
Made from scratch with a fluffy and moist red velvet cake, a creamy buttercream filling, and a smooth white chocolate coating, they are irresistible.
The bright red color makes them perfect for holidays, parties, or just because. Plus, they’re easy to make and fun to decorate with sprinkles!
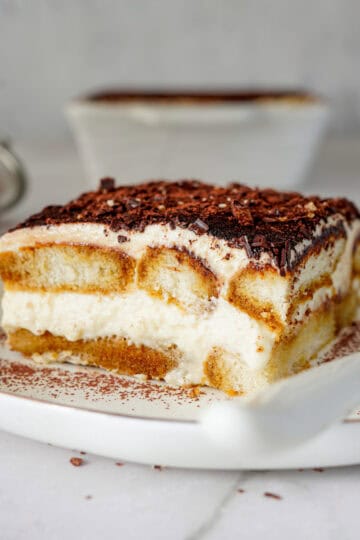
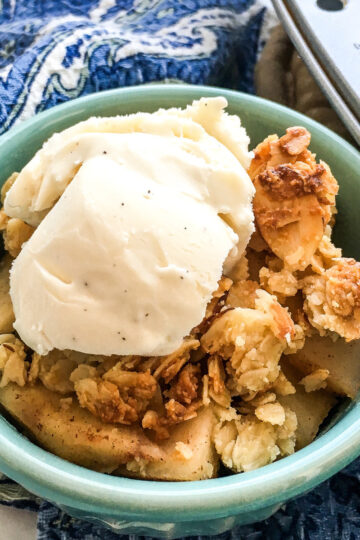
Into dessert-making? Us, too! Try our carrot cake recipe, this baked apple crisp, or our classic tiramisu.
Jump to:
Why You’ll Love this Recipe
For us, nothing beats these red velvet cake pops as the perfect little party pleaser:
- Fun and bite-sized: These cake pops are the perfect portion for a sweet treat without overindulging. They’re easy to pop in your mouth and enjoy!
- Made from scratch: No need for cake mixes—these cake pops are made from scratch, ensuring the freshest flavors and the ability to control the ingredients.
- Moist and delicious: The combination of rich red velvet cake and creamy buttercream creates a perfectly moist and flavorful bite every time.
- Perfect for parties: Cake pops are an ideal snack for events, from birthdays to baby showers to holiday gatherings. They’re easy to serve, transport, and enjoy without a mess.
- Great for gifting: Wrapped in pretty packaging, these cake pops make an adorable and thoughtful homemade gift for friends and family.
Ingredient and Substitution Notes
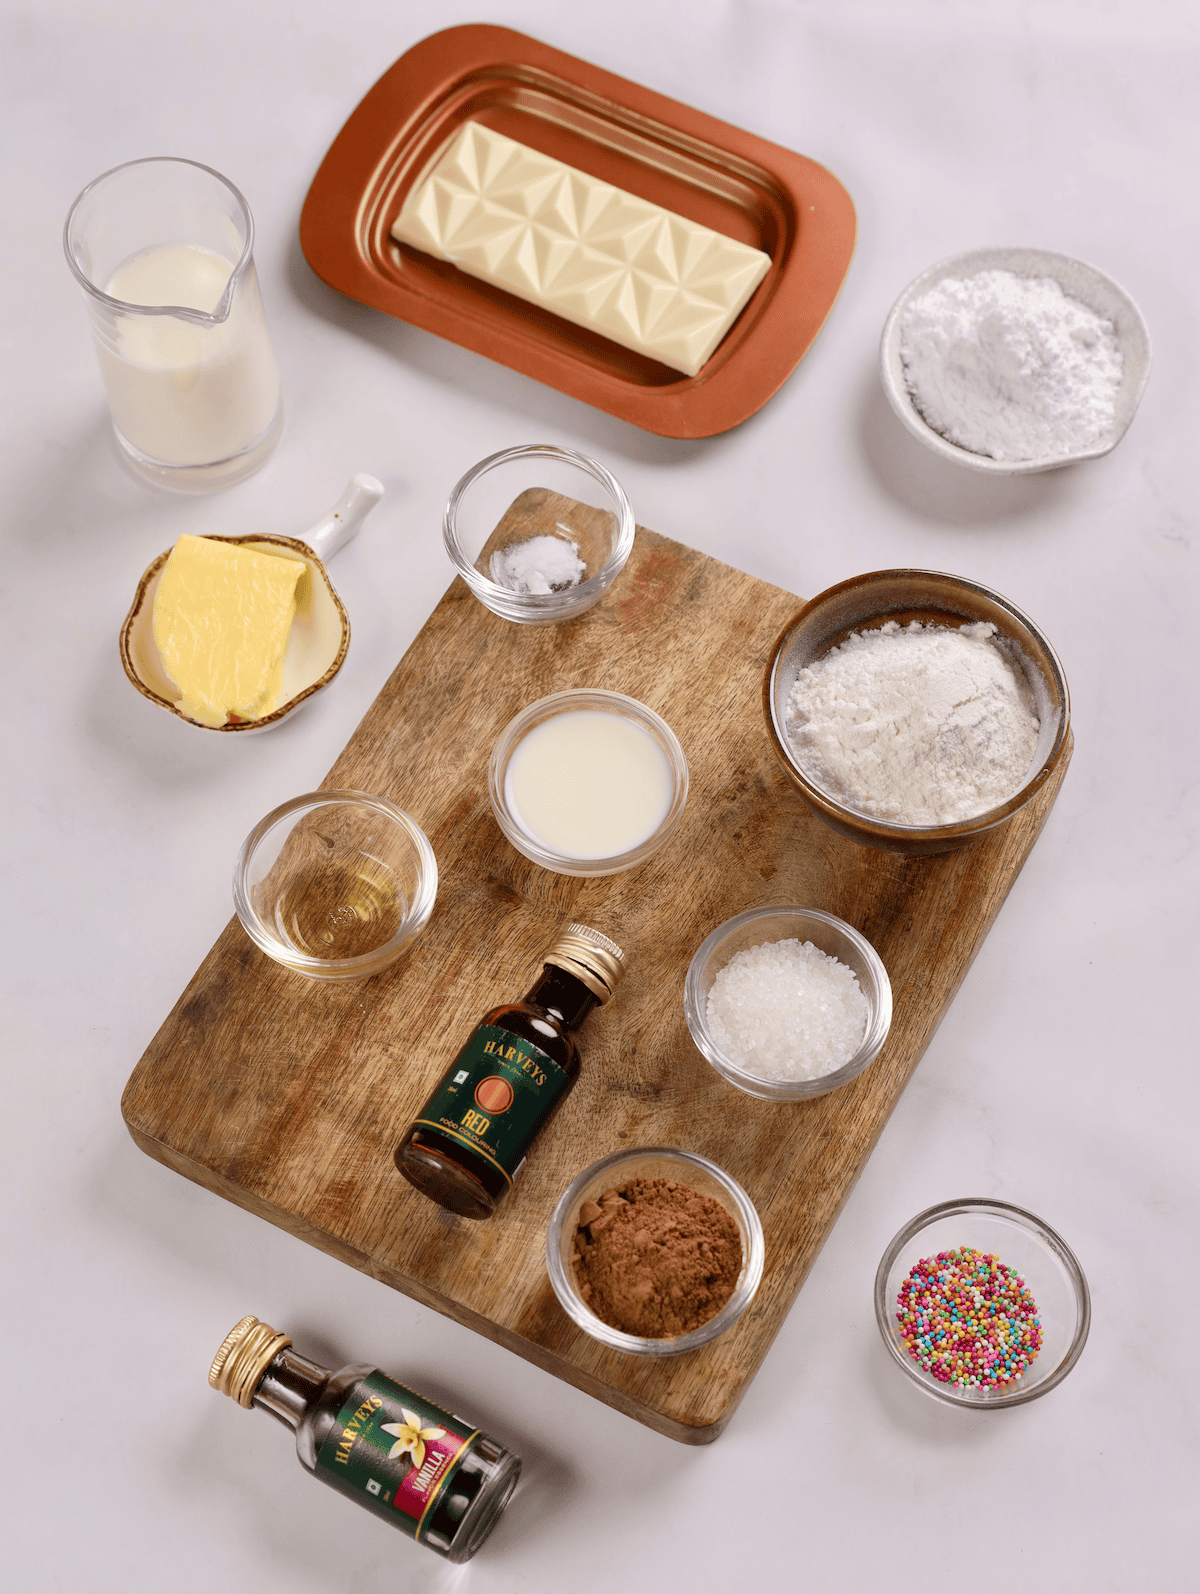
Here is everything you’ll need to make these bite-size treats:
- All-purpose flour: This is the base for your cake, giving it structure and texture. If you're looking for a gluten-free alternative, try using a gluten-free all-purpose flour blend.
- Sugar: Granulated sugar is used to sweeten the cake. You can substitute with coconut sugar for a more natural option.
- Cocoa powder: A small amount of unsweetened cocoa powder gives the cake its rich flavor.
- Milk: Whole milk or any non-dairy milk like almond or oat milk will work in this recipe.
- Apple cider vinegar: The vinegar reacts with the baking powder to help the cake rise. You can use white vinegar or lemon juice if you don’t have apple cider vinegar.
- Butter: Melted butter adds richness to the cake. You can substitute with vegetable oil if preferred.
- Red food coloring: Red food coloring gives the cake its signature vibrant color. If you want a natural alternative, use beet juice or powder.
- Powdered sugar: This forms the base of your smooth, creamy buttercream. Make sure its sifted before using it.
- Butter (room temperature): Softened butter is crucial for a smooth and creamy frosting. If you prefer dairy-free, you can use a plant-based butter.
- Milk (for buttercream): Regular milk or a non-dairy milk option also works fine here.
- Vanilla essence: A touch of vanilla adds depth to the buttercream flavor.
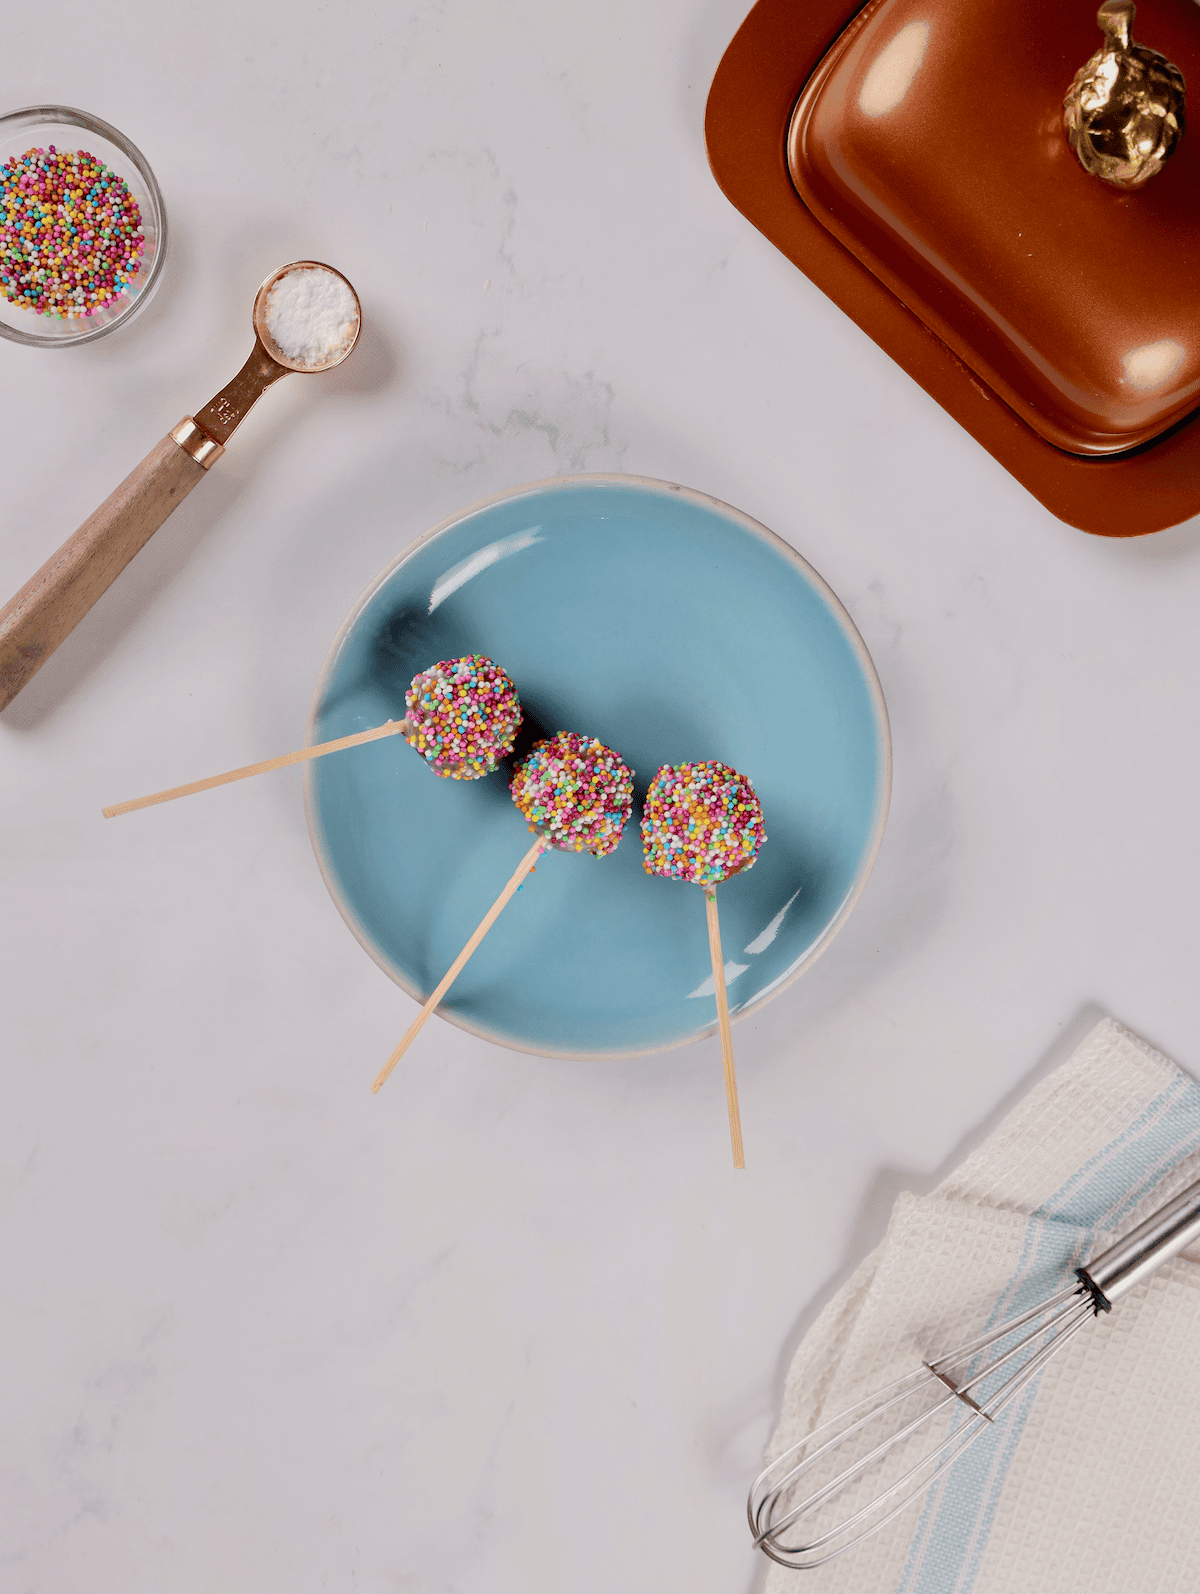
- Wooden sticks: You’ll need these for forming the pops. You can use decorative cake pop sticks if you want to go all out.
- White chocolate: The melted white chocolate will coat the cake pops and give them a smooth, sweet finish. You can also use dark or milk chocolate if you prefer.
- Sprinkles: These are for garnish. You can use any sprinkles to match the occasion, from classic rainbow sprinkles to festive themed ones.
See recipe card for quantities.
Instructions
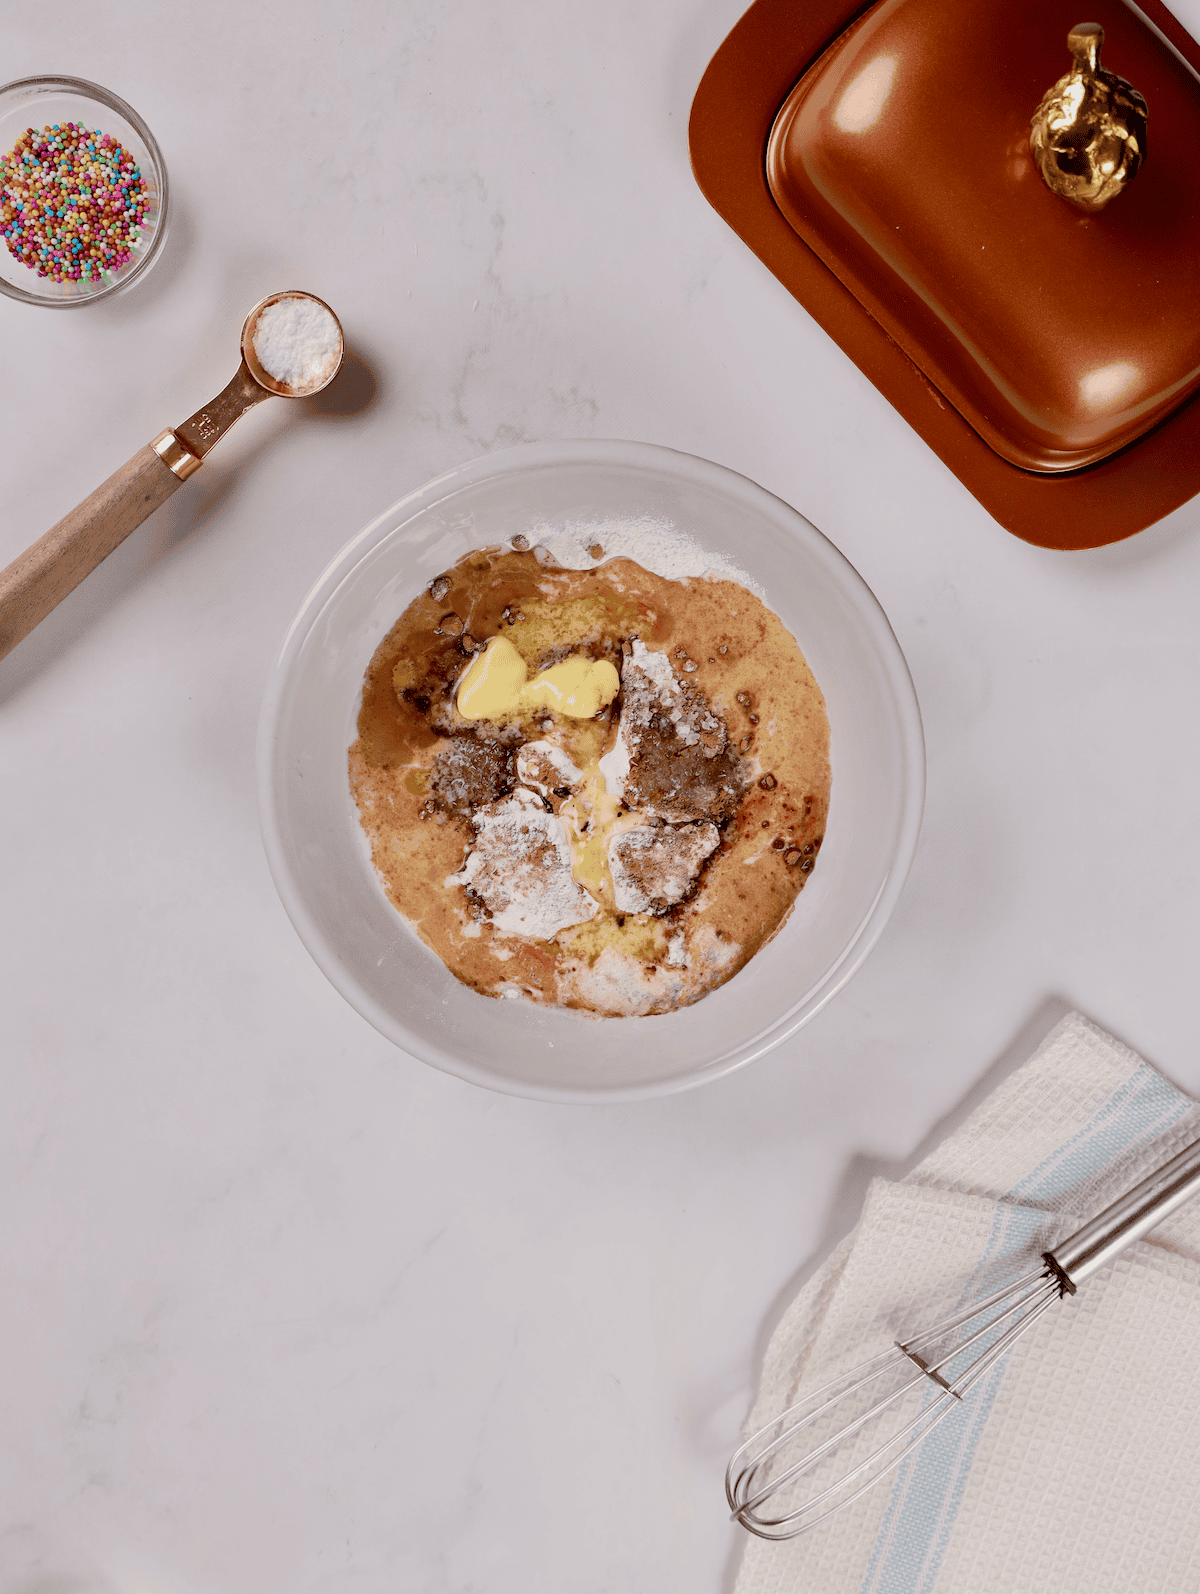
- Step 1 - Mix ingredients for the mug cakes
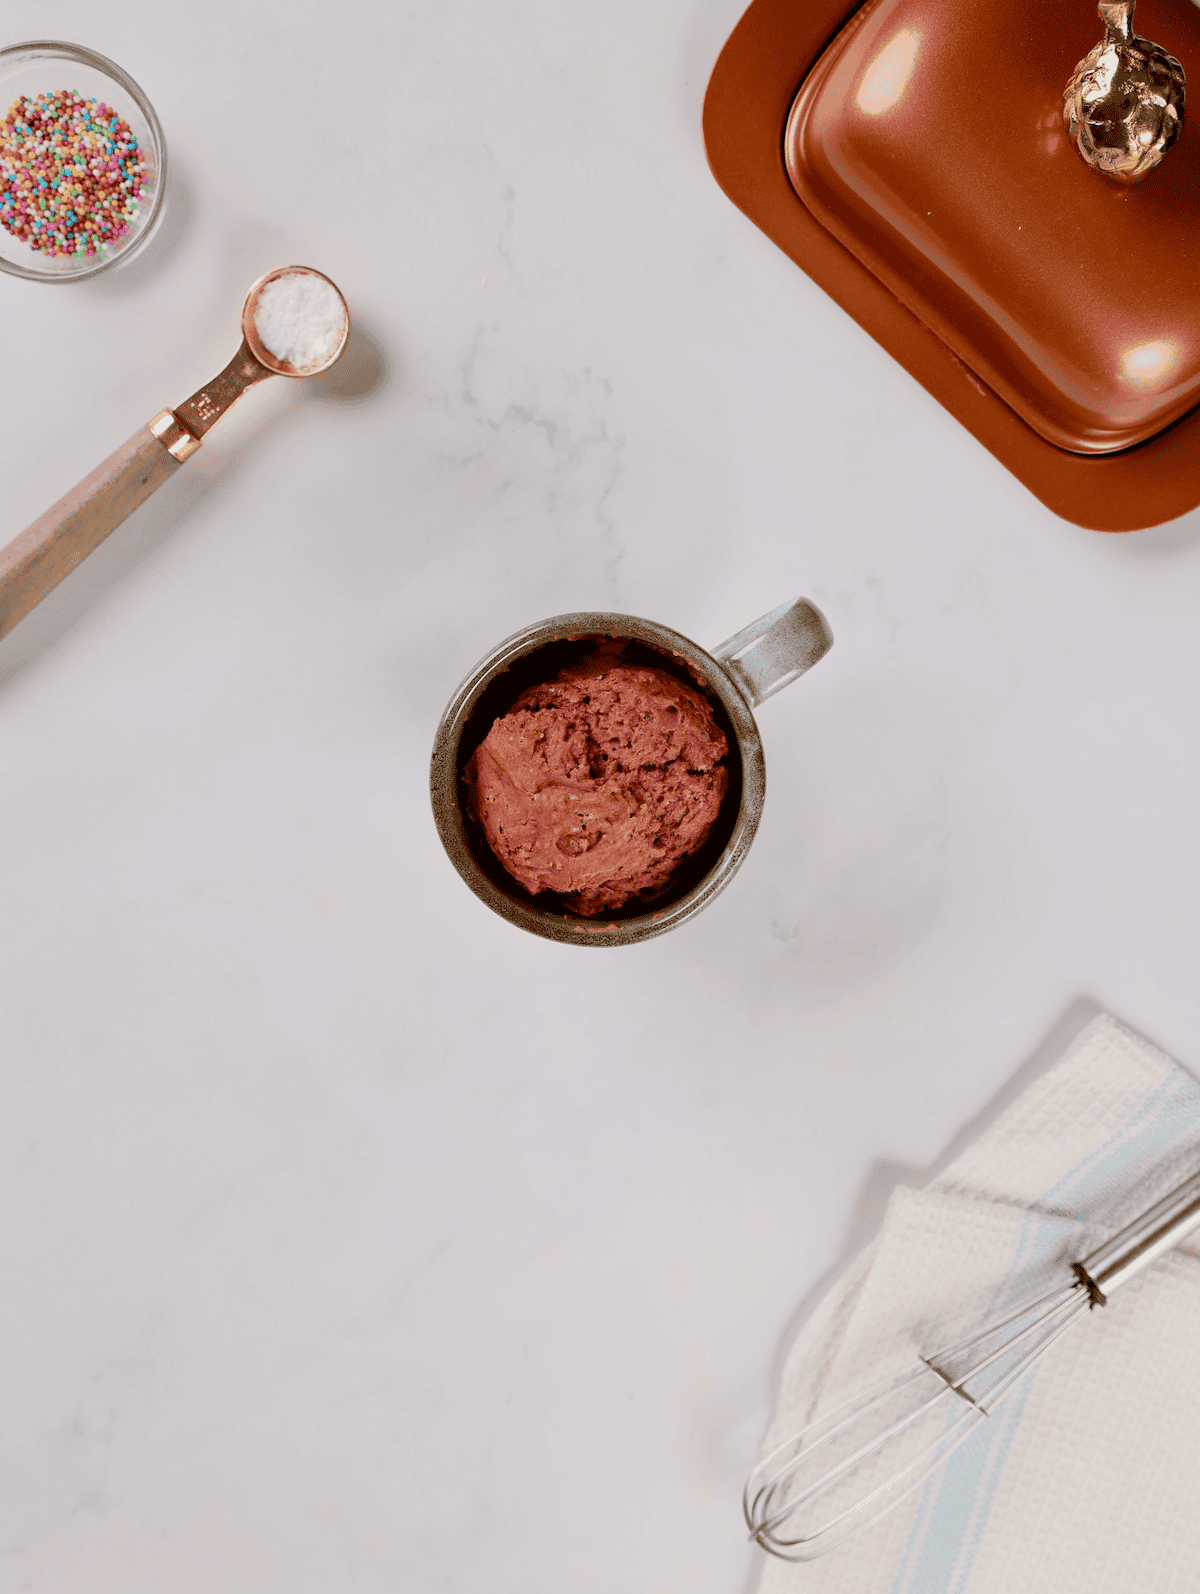
- Step 2 - Transfer mixture to an oven-safe mug and bake for 15-20 minutes.
- Step 3 - Prepare the buttercream
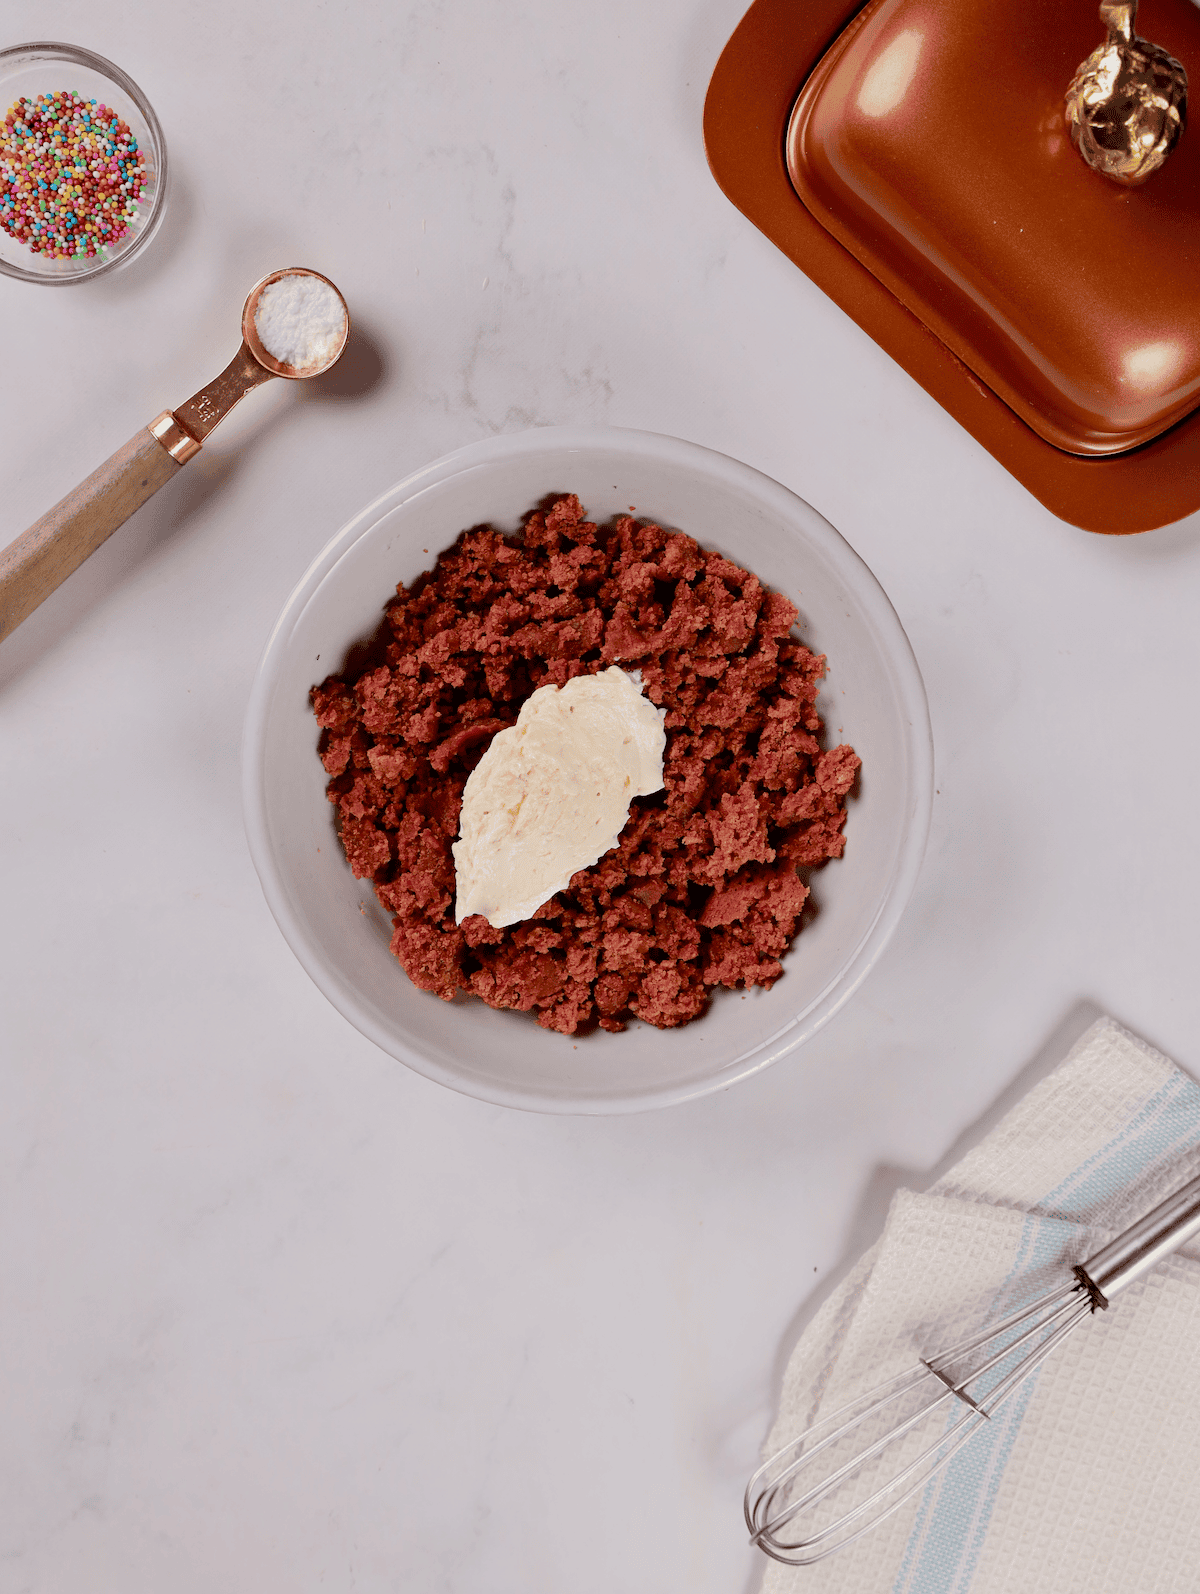
- Step 4 - Crumble cooked cake mix and blend with buttercream
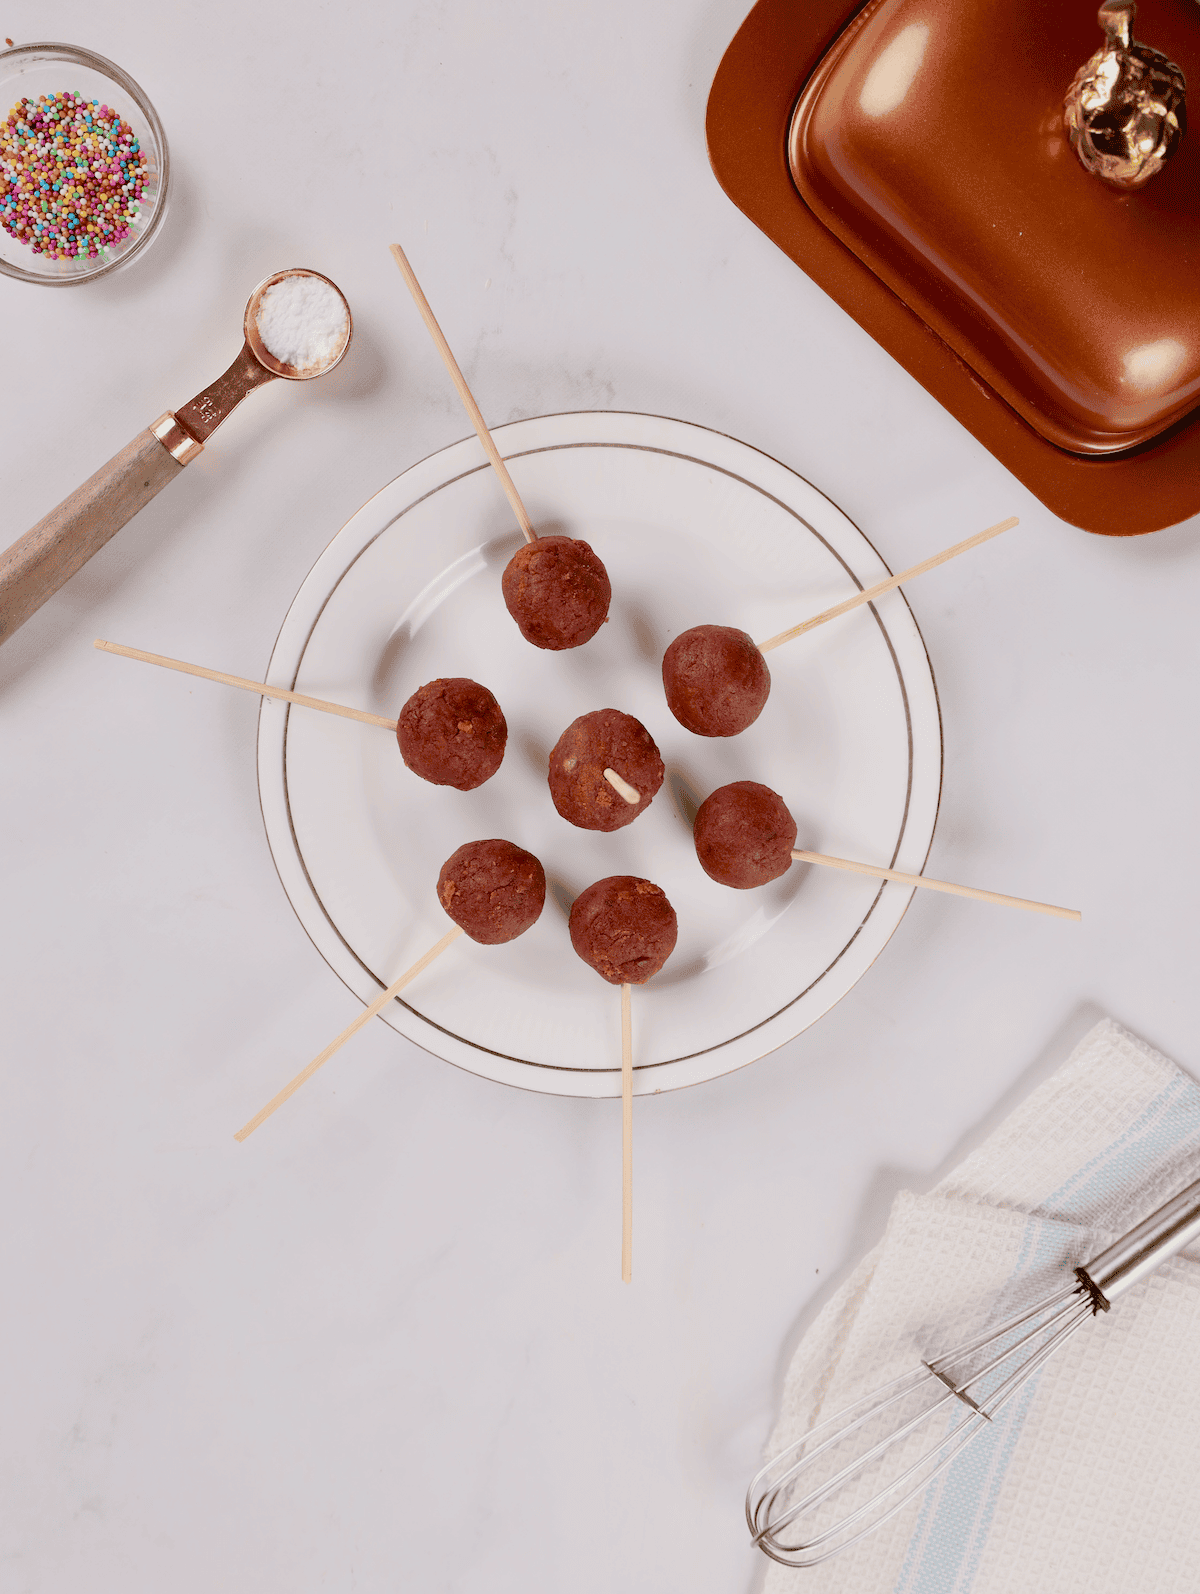
- Step 5 - Form the mixture into balls. Use a wooden stick dipped in melted white chocolate and stick it into the prepared balls. Refrigerate for 10 minutes
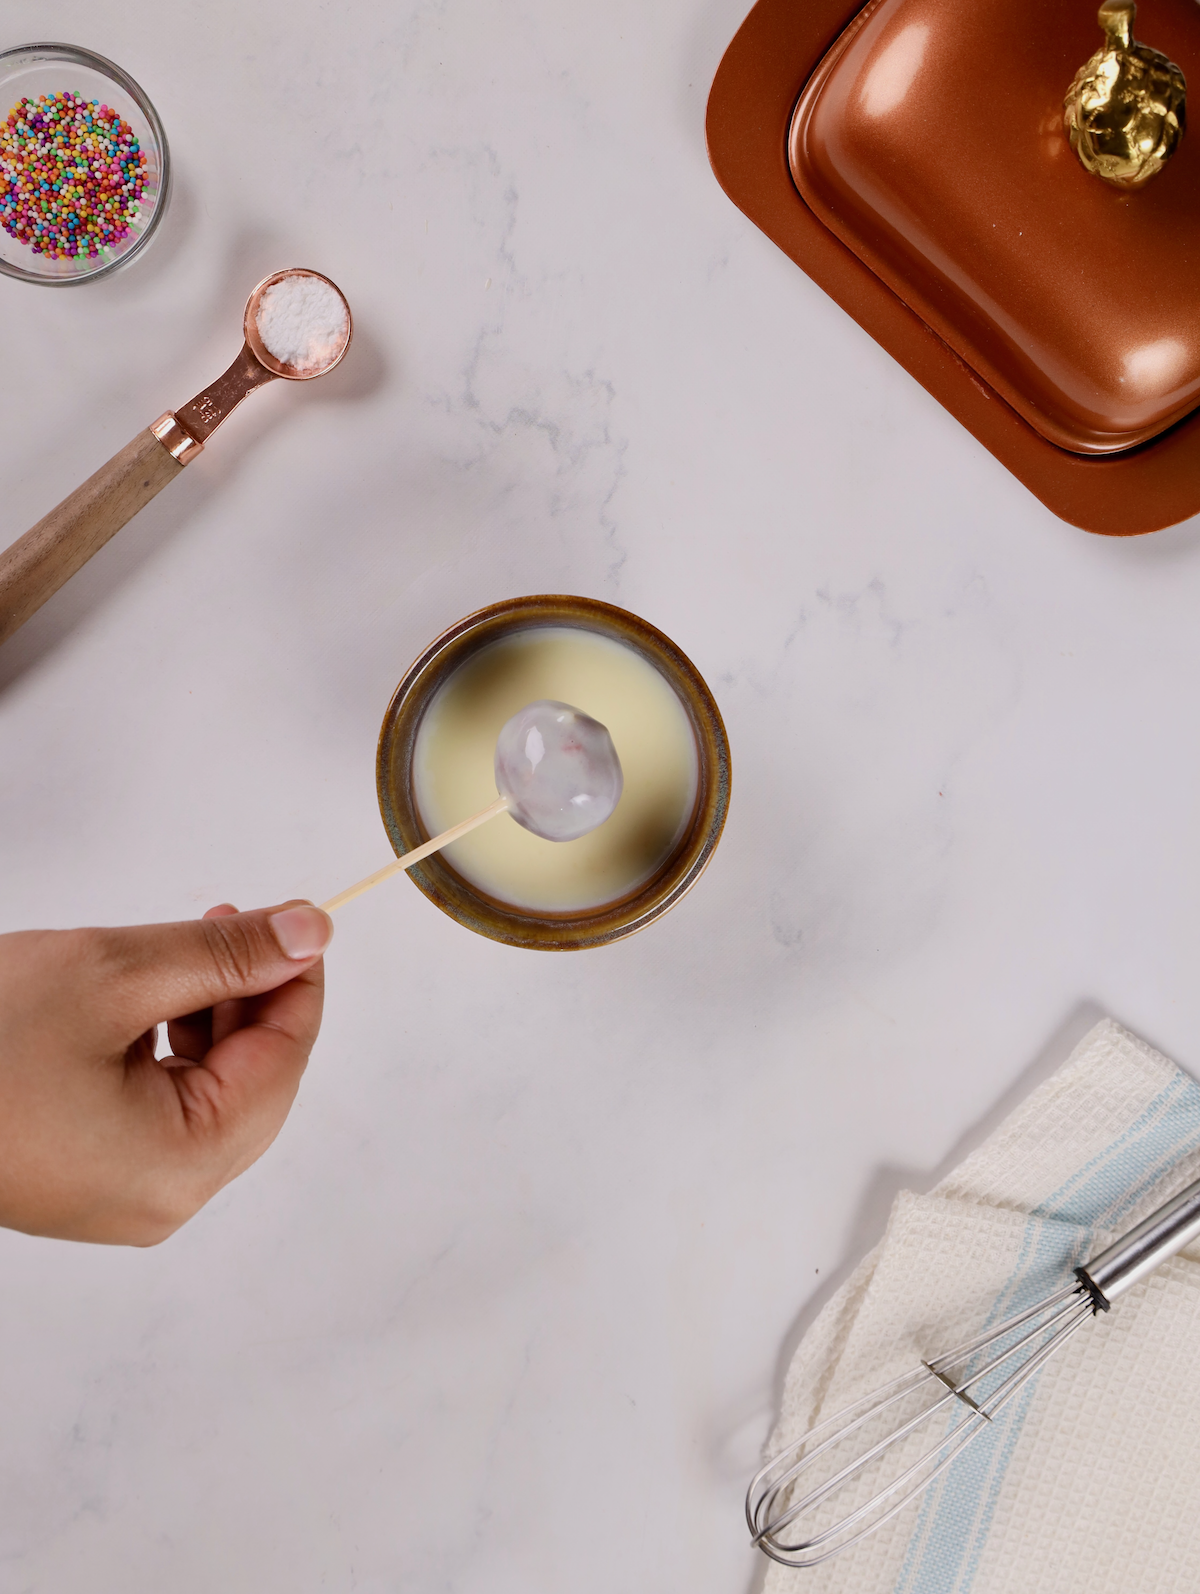
- Step 6 - Remove cake pops from refrigerator and dip into melted white chocolate

- Step 7 - Dip in sprinkles
- Step 8 - Refrigerate again for 15 minutes and serve
Variations of these Red Velvet Cake Pops
Play around with this base recipe to make a few fun versions of these:
- Red velvet with cream cheese frosting: Swap the buttercream for a tangy cream cheese frosting for a more traditional red velvet taste.
- Chocolate drizzle: For an extra layer of flavor, drizzle melted dark chocolate over the white chocolate coating.
- Flavored buttercream: Experiment with flavored extracts in the buttercream, such as almond, mint, or hazelnut.
- Mini cake pops: You can make these smaller for bite-sized treats that are perfect for parties or as a sweet snack.
Top Tips
There are a handful of tips we feel make a real difference when making cake pops from scratch – check them out:
- Cool the cake completely: Before mixing the cake crumbs with the buttercream, make sure the cake is fully cooled to avoid melting the frosting.
- Crumb coat: After dipping your sticks into the melted white chocolate and inserting them into the cake balls, refrigerate the pops for a few minutes to set the coating before fully covering them.
- Consistency of buttercream: If the buttercream is too thick, add a little more milk, a teaspoon at a time, until it reaches the desired consistency.
- Smooth chocolate coating: To get a smooth, even coat of white chocolate, make sure it’s completely melted and slightly cooled before dipping the cake pops.
Storage Notes
Store your red velvet cake pops in an airtight container at room temperature for up to 3 days.
If you want to keep them longer, you can refrigerate them for up to a week. Make sure they’re fully set before storing to avoid any smudging.
Freezing
These cake pops can be frozen for up to 3 months. After assembling, freeze them in a single layer on a baking sheet, then transfer them to a freezer-safe container.
Let them thaw at room temperature before serving.
FAQ
Yes! These cake pops can be made a day or two ahead of time and stored in the fridge. They stay fresh and delicious.
Yup! You can make cake pops with any flavor of cake you like, from chocolate to vanilla, or even a lemon cake base.
If you prefer, you can use dark or milk chocolate instead of white chocolate for a different flavor.
Related
Looking for other recipes like this? Try these:


Easy Peasy Cake Pops From Scratch
Ingredients
For the Red Velvet Cake
- All-purpose flour: ¼ cup
- Sugar: 2 tbsp
- Cocoa powder: 1 tsp
- Baking powder: ¼ tsp
- Milk: 5 tbsp
- Apple cider vinegar: ½ tsp
- Butter melted: 1.5 tbsp
- Red food coloring: 1 tsp
For the Buttercream
- Sugar powdered: ¼ cup
- Butter room temperature: 50 grams
- Milk: 1 tbsp
- Vanilla essence: ½ tsp
For the Cake Pops
- Prepared red velvet cake
- Prepared buttercream: 2 tbsp
- Wooden sticks
- White chocolate melted: As required
- Sprinkles: To garnish
Instructions
- Start the recipes by making the mug cakes first. For the mug cakes, mix all the ingredients together. The mixture should be of thick consistency.
- Transfer the mixture to a cup that is microwave/oven friendly.
- Microwave for 70 seconds to 1 minute or until you see the cake rise. If you are using an oven, pre-heat the oven and bake the mug cake at 350°F (180°C) for 15-20 minutes. Use a toothpick to ensure that the cake is cooked completely.
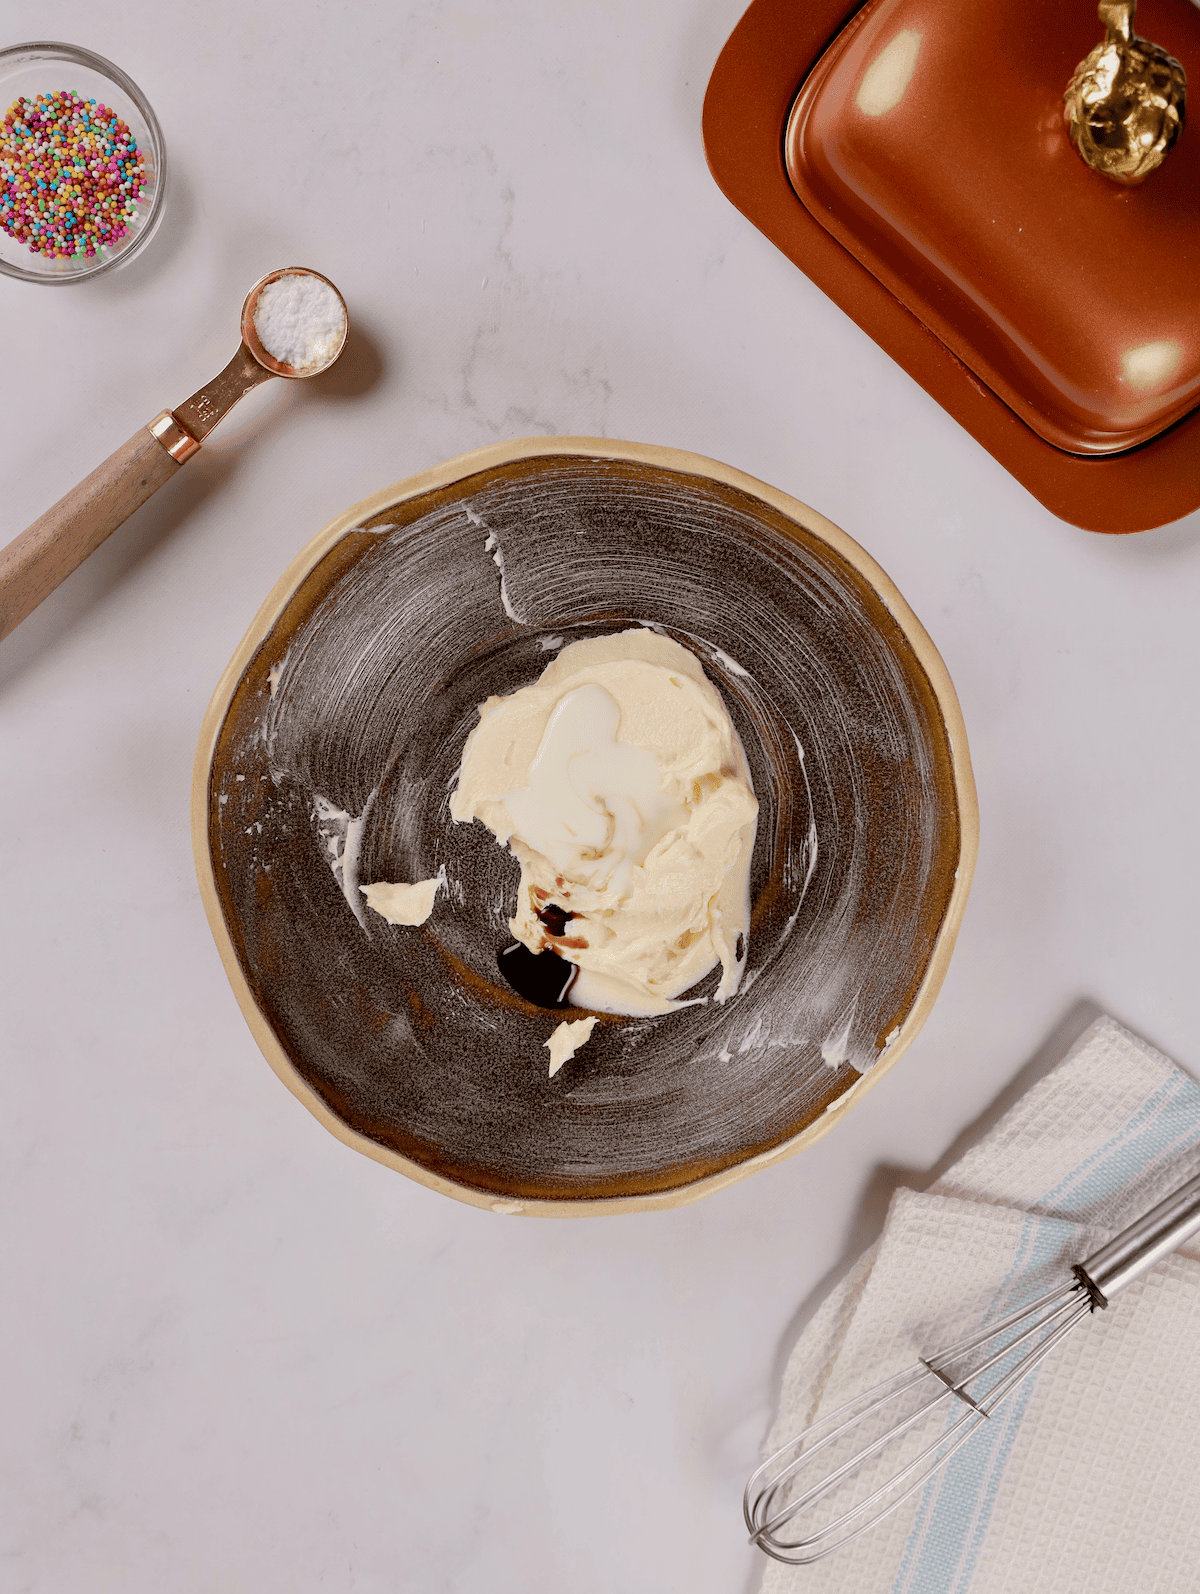
- While the cake is cooking, let’s prepare the buttercream. Take butter in a bowl and whisk it until it starts forming peaks. If you are using a hand whisk, then it will take you about 5 minutes. If you are using an electric whisk, it should be done in less than half the time.
- Add the sugar next and whisk again. It should turn into a smooth texture.
- Add the milk and vanilla essence and whisk again. You should end up with a smooth textured frosting.
- Once the cake is done, rest it and let it come to room temperature.
- Once the cake is cooled enough, transfer it to a mixing bowl and crumble it.
- Add the prepared buttercream frosting and mix well.
- Take small scoops and make round balls.
- Use a bamboo/ wooden thin stick, dip it in the melted white chocolate and stick it into the prepared balls. Refrigerate for 10 minutes.
- Next, bring them out of the refrigerator and dip the balls in melted white chocolate. Immediately garnish with sprinkles. Use a Styrofoam to keep the cake pops straight.
- Once you have dipped and garnished all the cake pops, refrigerate them for 15 minutes.
- Your cake pops are ready!
Tips and Tricks
- Do not overmix the cake mixture or your cake will not rise and will be dense in texture.
- It is always better to store the cake pops at room temperature. If you refrigerate and store them then condensation will start appearing on the surface.
- Do not make the ball size too big or else they will not stay on the stick.
Comments
No Comments